|
"Get Rid Of The Grime.
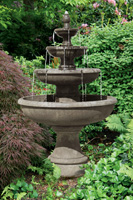
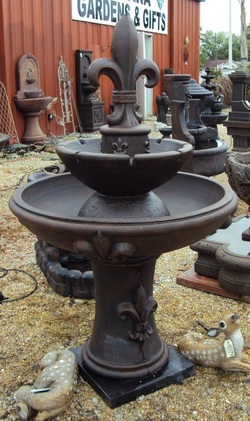
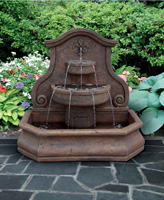
Dirt and debris wear on the fountain's surface. Once a month, bail out gritty water (or siphon it off with a wet-dry vac); then wipe the interior with a soft cloth or sponge. Scrub off buildup with vinegar and a soft bristled nylon brush; wipe clean and refill. Put On Socks. Slip an old nylon stocking over the pump and its intake to keep out stray dirt. Fight Buildup. Each time you refresh the water supply, add a clarifier to deter algae growth and a scale and stain remover, following the label directions on dosage (it depends on your fountain's capacity). Double the normal amount if you notice algae or scale that persists. In warmer months, when algae grows more readily, add a time-release algaecide in tablet form about once every three weeks. Don't Let It Run Dry. Your pump could overheat if the water level's too low, so keep an eye on it, especially if you've had a string of hot, dry days. NEVER USE Chlorine. Fountain pumps aren't designed to work with concentrated levels of chlorine, but if an algae bloom won't die down, add 1/4 cup of distilled vinegar for every 5 gallons of water, and run the pump overnight so it circulates long enough to disinfect the entire system". You can also add shiny copper pennies to oxidize the water and fight algae growth. Reference: DISHNER, Jackie. "Five Tips To Keep Your Fountain Running." This Old House. Thisoldhouse.com, n.d. Web. 02 Apr. 2014. <http://www.thisoldhouse.com/toh/article/0%2C%2C20209545%2C00.html>.
0 Comments
Reference:
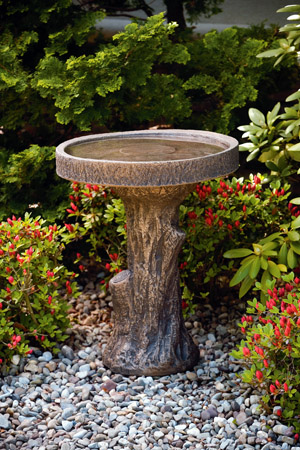
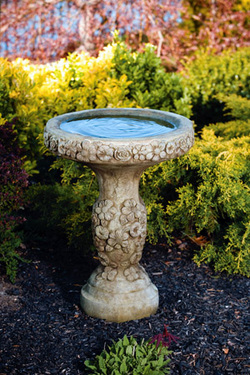
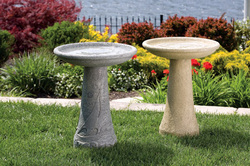
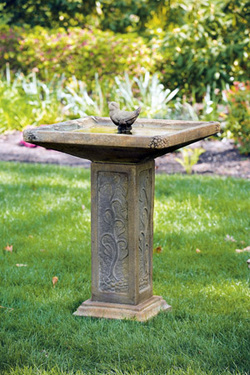
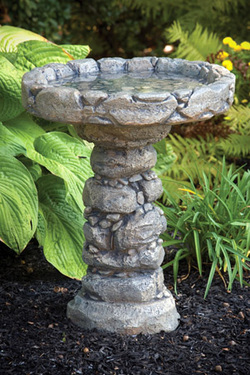
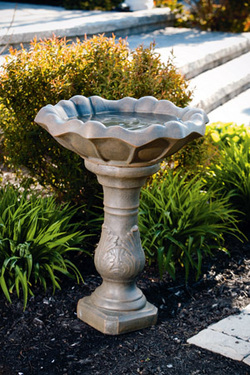
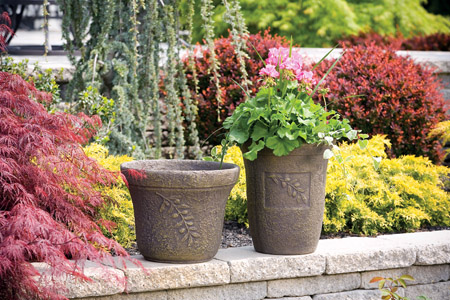
LaLiberte, Kathy. "How to Create Sensational Pots and Planters." Gardeners Supply. Gardeners.com, n.d. Web. 20 Mar. 2014. <http://www.gardeners.com/Planters-That-Stand-Out/5325%2Cdefault%2Cpg.html>. "Adding a bird bath to a garden area creates a decorative feature while promoting conservation of wild birds and other wild creatures. Bird baths create a water source for birds and other wild visitors to a garden. Knowing how to landscape around a bird bath can help you safely provide for visiting birds while creating a beautiful display in your garden. Proper Location for a Bird Bath A spot near trees and bushes is ideal for your bird bath. This location will make it more accessible to the wild birds that will visit and make use of the feature. Placing the bird bath in a sunny location gives you a large variety of plant possibilities around the bird bath but an area that receives a combination of sun and partial shade throughout the day would be an ideal choice. A Foundation for Your Bird Bath A paving stone is a good choice to set the bird bath on. Placing your bird bath on a paving stone will provide stability and a flat surface as well as block out some of the weeds directly against the base of the bird bath. Create a Pathway Around the Bird Bath By creating a pathway around your bird bath, you will be able to get close for cleaning and regular maintenance. Arrange paving stones around the bird bath and if you prefer the stones to be level with the ground, dig out a shallow indention in the shape of each stone. Level the dirt and place the paver in the spot. Add more dirt to make the stone level. Planting Around the Bird Bath In order to deter predators that will be looking at your visiting birds as tasty snacks (domestic cats are the biggest predator in my yard), keep a clear area of about 10 feet in diameter around the bird bath. This open area allows birds to make use of the water without predators being able to sneak up on them. Add some of your favorite plants to provide food and shelter for the wild birds. Some of my favorites are sunflowers and lilac bushes. Sunflowers will provide seeds and lilac bushes will provide shelter. Choose appropriate plants for the sun exposure near your bird bath. Provide Feeding Stations Around the Bird Bath Tall shepherd hooks can be placed to hang bird feeders in the area but still position them away from the bird bath. Do not place bird feeders close enough for dropped seeds to fall into your bird bath or you will be spending extra time cleaning it out. It is best to create a combination of feeding stations at various heights for the many birds that may visit - hummingbirds, goldfinches, cardinals, and more. Hang suet feeders, platform feeders, hummingbird feeders and other types of feeding stations to attract wild bird to the area of your bird bath. Create a Spot for You to Watch the Birds that Visit Your Bird Bath A bench or seat of some type should be placed at least 10 to 20 feet away from your bird bath. This distance will allow you to watch the birds visiting your bird bath without scaring them away. I have a garden swing that I sit in to watch the critters that visit my wildlife garden. Listening to the birds is a favorite summer pastime and I look forward to it daily. Miscellaneous Needs for a Bird Bath A rock placed in the center of your bird bath will give the birds something to perch on while they drink or bathe. Be sure the water level in your bird bath is never more than two inches deep and never add any chemicals to the water". Reference:
Morris, Tammy Lee. "Tips for Landscaping and Setting Up Your Bird Bath." Yahoo Contributor Network. Voice.yahoo.com, 19 June 2010. Web. 18 Mar. 2014. <http://voices.yahoo.com/tips-landscaping-setting-bird-bath-6424658.html?cat=6>. "When most people think about New Orleans homes, they imagine outdoor spaces -- cast iron railings and lush, private courtyards. And those are absolutely magnificent. But, New Orleans interiors are pretty special too. With the city’s mix of French, Spanish, African, Haitian, and American Low-Country heritage, nothing is really inappropriate. I've even seen crumbling plaster become a decorative element. But, for that quintessential New Orleans style -- whether you prefer an apartment in the French Quarter, a colorful shotgun cottage, or a grand manor in the Garden District -- mix in some of these: Ornamental Iron If you don't have that French Quarter balcony with the cast iron railings, you can still enjoy decorative ironwork. Hang a gate or fence section on the wall as art or use it as a headboard. Top a three-sided balcony piece with glass or marble to make a console table". Classical Urns and Garden Statuary Reference:
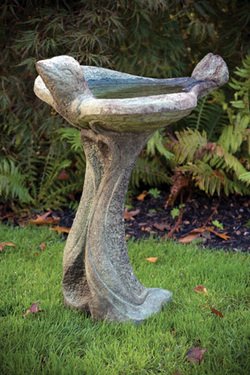
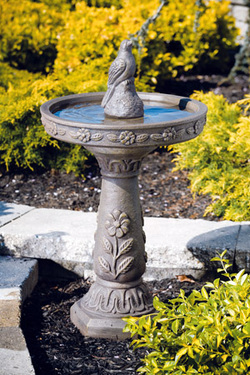
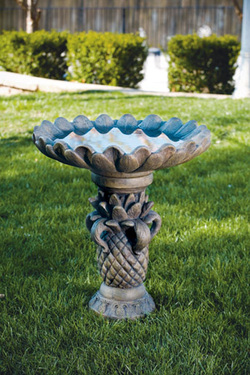
French, Leah. "Get the Look: New Orleans Style." About.com Flea Markets & Yard Sales. About.com, n.d. Web. 17 Mar. 2014. <http://fleamarket.about.com/od/stylestrends/tp/neworleansstyledecorating.htm>. "Sometimes fresh, clean water is hard for a bird to find. You can make a bird's day simply by offering a drink and a bath. Parent birds will often bring their babies to the bath after they fledge and show them where it is. Like the baby robin getting its first bath. Water will actually attract more species of birds than feeders will. Birds such as wrens, catbirds, and waxwings, who eat insects or fruit, don't visit most feeders. But a birdbath attracts all kinds of birds. Bluebirds, robins, catbirds, warblers and thrushes. We've even watched screech owls drinking from a birdbath right in town at dawn. Put your birdbath in your garden, and the birds will find it quickly. We took the photo at left, of bluebirds and cedar waxwings, 15 minutes after we first filled our homemade birdbath. We hollowed out a shallow basin in a section of a pine log. It was so heavy that we had to roll it into place. And it was rough, but it was a major hit with the birds. It was a hit with us, too. Watching birds at the birdbath brings great happiness to a home. It's one of the easiest ways to bring birds up close, where the whole family can get a really good look and enjoy their beauty. What kind of birdbath is best? Shallow No deeper than three inches at the center. It should be even shallower at the edge, so that a bird can ease its way in. Many birdbaths are way too deep. If you have one that's too deep, you can put rocks in it to raise the bottom. However, it will require you to work a little harder to keep the water clean. Rough bottomed Birds don't want to lose their footing. They don't like a glazed, slippery bottom. Cement is good, but it's heavy and hard to handle. Some of the new fiber-and-resin baths are amazingly lightweight, and they have a rougher texture, that makes birds feel secure. Drippy or sprinkly The plink or splash of moving water is pure invitation to birds. It dramatically increases the number of species that visit a birdbath. For example, hummingbirds would never wade into the bath the way a robin does, because hummingbirds bathe only in flight. But I have watched hummers zipping back and forth through the drips, timing their flights so that they catch a water drop on their backs on each pass. Sun power There are also baths available now with solar-powered spray features, such as the Solar Spa bath shown at right. We have one of these at the Birdwatching Dot Com garden, and we love to watch the birds come visit it. To upgrade a regular birdbath to a moving-water feature, arrange a garden hose so that its water trickles or drips into the bath. You can turn a still-water birdbath into a live-water bath by putting an inexpensive Water Wiggler in it. This is the same unit that makes the Water Rippling Birdbath work, but it's just the wiggler part. You put it in your own birdbath. Some people make a 1/2-inch hole in the bottom of a bucket and plug it with a bit of cloth, and suspend the bucket over the birdbath. The dripping water makes plinking sounds that birds can't resist. You can also install a small spray fountain designed for birdbaths. And we've seen a solar spray pump kit that you can add to an existing bath. Bath AttractionsKindness is a birdbath Sometimes fresh, clean water is hard for a bird to find. You can make a bird's day simply by offering a drink and a bath. Parent birds will often bring their babies to the bath after they fledge and show them where it is. Like the baby robin getting its first bath. Water will actually attract more species of birds than feeders will. Birds such as wrens, catbirds, and waxwings, who eat insects or fruit, don't visit most feeders. But a birdbath attracts all kinds of birds. Bluebirds, robins, catbirds, warblers and thrushes. We've even watched screech owls drinking from a birdbath right in town at dawn. Put your birdbath in your garden, and the birds will find it quickly. We took the photo at left, of bluebirds and cedar waxwings, 15 minutes after we first filled our homemade birdbath. We hollowed out a shallow basin in a section of a pine log. It was so heavy that we had to roll it into place. And it was rough, but it was a major hit with the birds. It was a hit with us, too. Watching birds at the birdbath brings great happiness to a home. It's one of the easiest ways to bring birds up close, where the whole family can get a really good look and enjoy their beauty. What kind of birdbath is best? Shallow No deeper than three inches at the center. It should be even shallower at the edge, so that a bird can ease its way in. Many birdbaths are way too deep. If you have one that's too deep, you can put rocks in it to raise the bottom. However, it will require you to work a little harder to keep the water clean. Rough bottomed Birds don't want to lose their footing. They don't like a glazed, slippery bottom. Cement is good, but it's heavy and hard to handle. Some of the new fiber-and-resin baths are amazingly lightweight, and they have a rougher texture, that makes birds feel secure. Drippy or sprinkly The plink or splash of moving water is pure invitation to birds. It dramatically increases the number of species that visit a birdbath. For example, hummingbirds would never wade into the bath the way a robin does, because hummingbirds bathe only in flight. But I have watched hummers zipping back and forth through the drips, timing their flights so that they catch a water drop on their backs on each pass. Sun power There are also baths available now with solar-powered spray features, such as the Solar Spa bath shown at right. We have one of these at the Birdwatching Dot Com garden, and we love to watch the birds come visit it. To upgrade a regular birdbath to a moving-water feature, arrange a garden hose so that its water trickles or drips into the bath. You can turn a still-water birdbath into a live-water bath by putting an inexpensive Water Wiggler in it. This is the same unit that makes the Water Rippling Birdbath work, but it's just the wiggler part. You put it in your own birdbath. Some people make a 1/2-inch hole in the bottom of a bucket and plug it with a bit of cloth, and suspend the bucket over the birdbath. The dripping water makes plinking sounds that birds can't resist. You can also install a small spray fountain designed for birdbaths. And we've seen a solar spray pump kit that you can add to an existing bath. Where should a birdbath be located? Not where cats can hide. Cats like to lie in wait beneath shrubbery or behind a concealing object and then pounce on the birds when they're wet and can't fly well. So put your birdbath at least five to ten feet from such hiding places. Give the birds a chance to see the cat coming. With an escape route. The ideal location is under some branches that hang down within two or three feet of the bath. A wet bird can flutter a few feet up to the safety of the leaves. On a pedestal. It's easy to see from the house, easy to clean, and somewhat safer from predators. If you locate your bath on the ground, it's important for the birds to have overhanging branches. Within reach of a hose. Make your birdbath easy to clean and refill. But locate your birdbath away from your feeding station, because seeds and droppings would soil the water quickly. Change the water every few days, or even every day in hot weather. Dump it out or squirt it out with the hose. I keep a scrub brush outside with my gardening tools, so that I can brush out any algae that begins to form. In view from a window. Don't forget to put yourself in the picture. Place the birdbath where you can see it from indoors, from your desk, dining room, or kitchen sink. Or locate it in your garden. Nothing is more decorative in a garden than a father bluebird bringing his newly-fledged young and introducing them to the birdath. A bird in the bath is the soul of enjoyment. The sight of it, even a chance glimpse through the window, will provide you too with a splash of happiness". Reference:
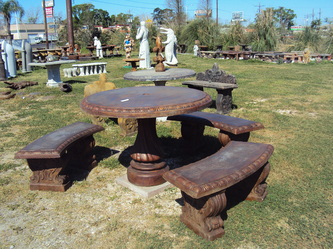
Porter, Diane. "Bath Attractions." Birdbaths, by Diane Porter. Birdwatching.com, 2010. Web. 15 Mar. 2014. <http://www.birdwatching.com/tips/birdbaths.html>. "Garden fountains range in size and style from palatial to small, quirky units made from flower pots. The landscaping style around your fountain should remain consistent with the fountain style. Regardless of size and style, fountains are meant to be focal points in the garden, so the landscaping design should highlight rather than upstage the fountain. As a general rule, the fountain should always be taller than the surrounding plants, so you must pay attention to mature plant sizes when choosing the plants for your fountain landscape design. 1.) Measure the total fountain height, including any pedestals, then mark a circle with landscaping spray paint with a diameter two to three times the fountain height. Remove the sod layer with a sod cutter and spade, spray the soil with a pre-emergent herbicide, then fill in the circle with pea gravel. Plant a low hedge around the perimeter of the circle, using a short evergreen species, such as elegans boxwood (Buxus sempervirens "Elegantissima"). 2.) Fill in a circle that has a diameter two to three times the fountain height with pea gravel. Place four curved, concrete benches in the circle spaced evenly around the fountain and halfway between the fountain and edge of the circle; this landscaping design enhances a formal fountain and requires very little maintenance. 3.) Install a small garden pond beside the fountain to carry the water theme from the fountain to ground level. Surround the fountain and pond with your choice of plants, arranging them in order of descending height so you can clearly see all the plants. 4.) Excavate the soil to a depth of 6 inches around the fountain, pack down 2 inches of gravel and top with 2 inches of level sand. Lay brick pavers over the sand foundation and fill in the cracks with sand to create a patio that highlights the fountain. Substitute used bricks or cobblestones to take the patio from formal to rustic. 5.) Place the fountain in the middle of your lawn and add four separate walkways leading to the path from different directions in your garden. You can simply place flagstones or stepping stones for a casual walkway, remove the sod layer and fill in the path with gravel or install formal brick paver walkways. 6.) Plant a hedge around the fountain that is 2 to 4 feet tall and about 5 feet out from the fountain. Plant a ring of small flowers another 2 feet out from the hedge plants; plant the same species around the hedge, but alternate colors, if desired. Fill in the empty space with a 2- to- 3-inch layer of shredded bark mulch to conceal the soil, prevent erosion and aid in moisture retention. 7.) Build a raised planter about 3 feet tall from concrete pavers, fill the planter with soil and place the fountain in the center. Use the soil around the fountain to plant seasonal annuals; simply pull out the old flowers at the end of the blooming period and replace with new seasonal annuals. 8.) Plant sweet alyssum (Lobularia maritima) or "Blue Cascade" lobelia (Lobelia erinus "Blue Cascade") densely around the base of a fountain that is set inside a raised bed planter. The sweet alyssum resembles churning water or bubbles around the fountain, while "Blue Cascade" gently cascades down the raised planter and looks like a living extension of the water fountain. 9.) Place large and medium rocks in the ground around the fountain; bury the lower one-third of each rock so they appear as natural features in your garden. Plant small flowers in the open spaces around the rocks or use the large boulders as the backdrop for group plantings. Fill in the empty space with shredded bark mulch or pea gravel mulch. 10.) Plant two or three medium shrubs, such as gardenia (Gardenia spp.), in an arc on opposite sides of the fountain, with each shrub arc covering approximately one-fourth of circumference around the fountain. Plant small flowers on the outside of the medium shrubs. Place three or four flagstones to create a path to the fountain on the two sides between the shrub arcs. Plant wildflowers such as California poppies in a flower bed around the fountain; this simple landscaping design is low-maintenance and coordinates well with rustic fountains, such as a simple fountain made from a watering can or flower pot. Tip
Reference:
Mahoney, Jessica, and Demand Media. "Home Guides." Home Guides. Http://homeguides.sfgate.com, n.d. Web. 13 Mar. 2014. <http://homeguides.sfgate.com/landscape-around-garden-fountain-49580.html>.
Your Bakana Options Reference:
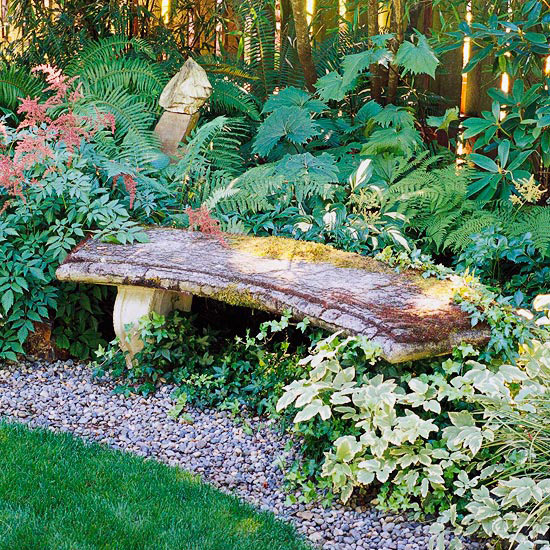
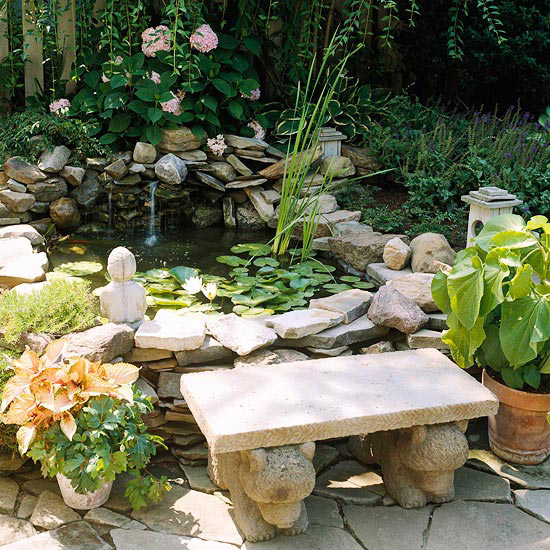
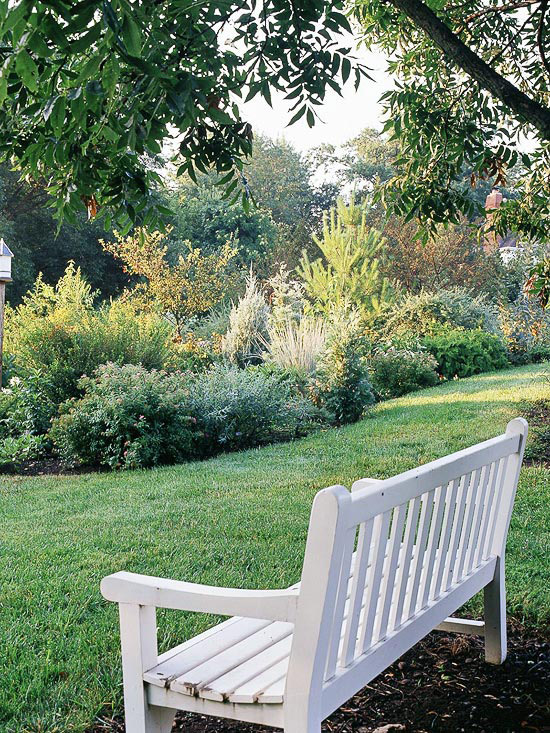
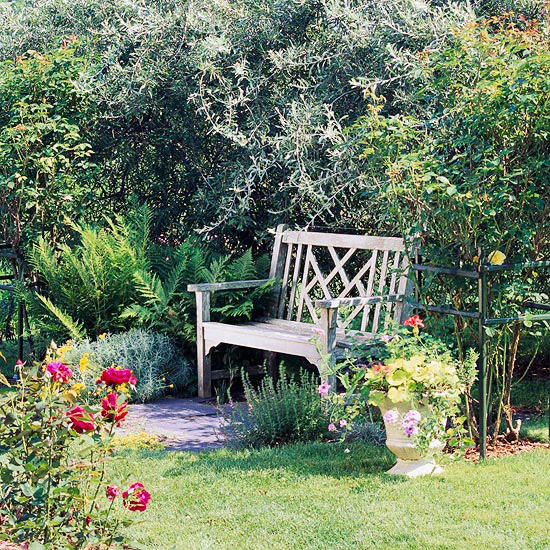
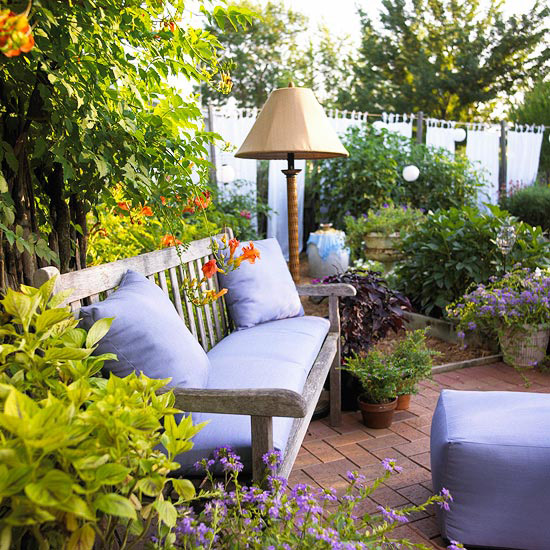
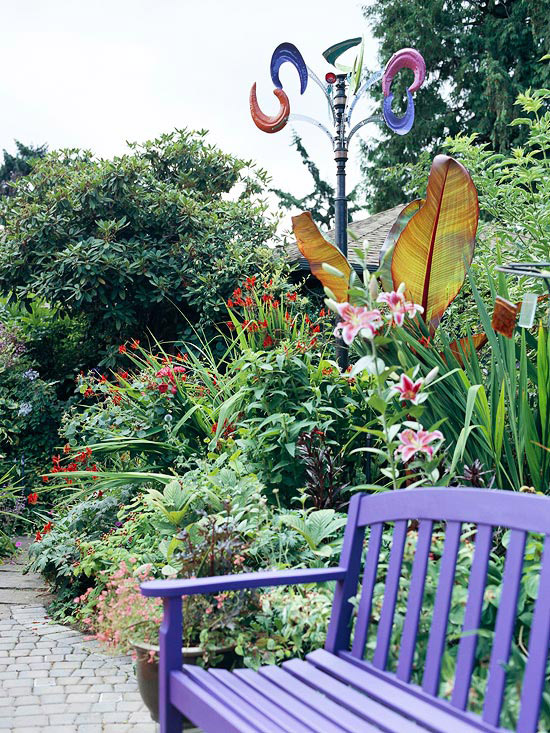
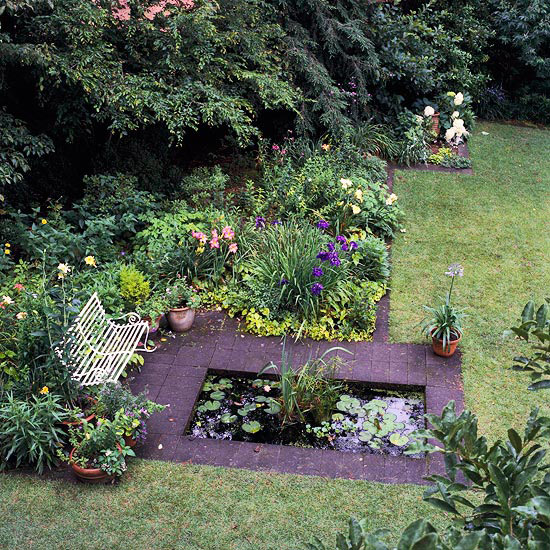
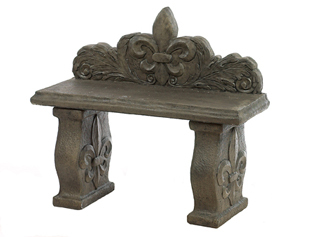
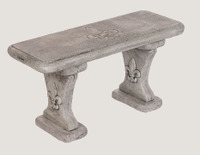
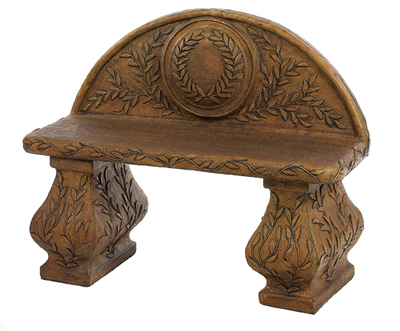
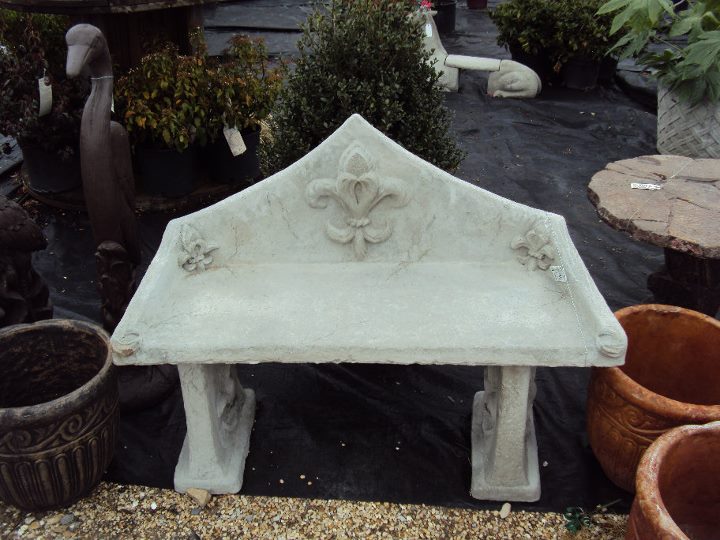
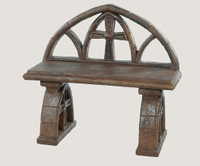
"The Many Moods of Garden Benches." Better Homes & Gardens. Bhg.com, n.d. Web. 07 Mar. 2014. <http://www.bhg.com/gardening/design/styles/the-many-moods-of-garden-benches/#page=1>. Overview The shamrock is an indoor plant, often associated with Ireland and good luck. The leaves are like three-leaf clovers with delicate white or light purple blossoms. It is grown from bulbs.Your plant will require a rest period during the year, when it is allowed to go dormant. Choose a time that the leaves start to look a bit limp and stop watering it. As the leaves turn brown, clip them off. Place your shamrock in a cool, dry dimly lit room for one to three months. Bring it back out into a well-lit location, but not full sun, water it and feed it with a general-purpose houseplant fertilizer. Re-pot your plant at this time if it appears to be crowded in its current pot or if you want to divide it. Step 1 Choose a new plant container for your shamrock plant. It should be 2 to 4 inches wider than the original pot and 2 to 4 inches deeper. Step 2 Scatter stones or broken pottery pieces over the bottom of the container. Pour in 2 to 3 inches of commercial potting soil. This soil will add nutrients to your shamrock's roots, and it is guaranteed to be disease and weed-seed free. Step 3 Turn the plant upside-down, while holding onto the base of the plant, and tap on the bottom of the pot. The plant should slide right out, but if it doesn't push through the bottom of the drain hole with your fingers. Step 4 Place the root ball of the plant into the new container. The top of the original soil should set about an inch below the top of the new pot. If it is too low or too high, adjust the soil beneath it. Step 5 Pour additional soil around the root ball, pressing gently with your fingers to remove any air pockets and to stabilize the plant. You are finished when the added soil is even with the top of the original potted soil. Step 6 Water your shamrock with enough water until it comes out the bottom drainage hole. Set it in it's original spot. Reference:
Ellis, Karen. "How to Repot a Shamrock Plant." GardenGuides. Gardenguides.com, n.d. Web. 05 Mar. 2014. <http://www.gardenguides.com/100033-repot-shamrock-plant.html>. |
AuthorArchives
January 2016
Categories
All
|



 RSS Feed

